

9 Registration Form Fields That Speed Up Event Check-In
Event registration form best practices come down to nine fields: full name, email address, mobile number, company, job title, attendee type, session selection, dietary and accessibility needs, and data consent. Ask only for what you need to print the badge, send the guest to the right lane and contact them on the day.
Key takeaways
- Every field should serve one of three jobs: badge, access or communication.
- Collect first and last name in separate fields, written as they should appear on the badge.
- Use attendee type to set badge colour, access zones and the check-in lane.
- Keep sensitive details optional and say why you collect them.
- Test the form on a phone before you publish it.
Why registration form fields decide how fast guests check in
Check-in speed is set before guests arrive. Whatever your form collects becomes the data your team scans, searches and prints from at the desk. Clean data means a badge prints in seconds. Missing, misspelled or duplicated data means a staff member typing at the front of a growing queue.
This matters at Dubai exhibitions, conferences and galas, where delegates often arrive in waves and travel from many countries. Names may need transliteration, company names vary, and one wrong character can delay a badge.
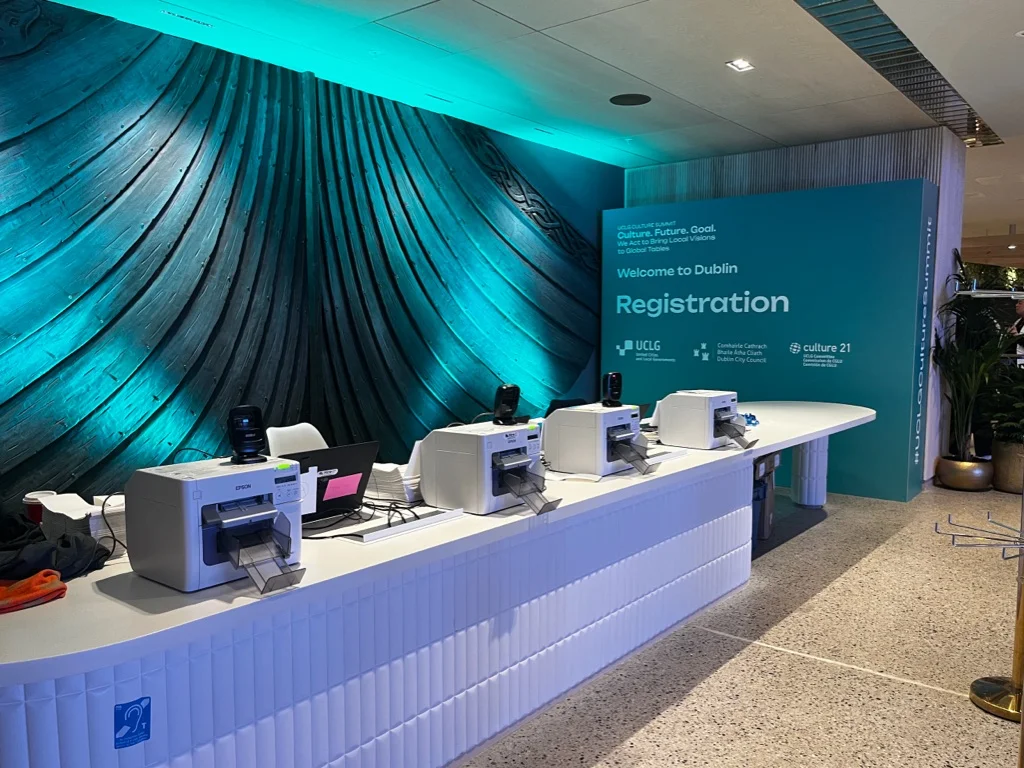
The form is the first half of the process. The second half is the on-site setup: badge printing, scanning and staff. If you want help with that side, see our event registration services. This guide covers the form itself.
What should an event registration form include?
A good event registration form includes nine fields: name, email, mobile number, company, job title, attendee type, session choice, dietary and accessibility needs, and consent. Each one earns its place by speeding up a badge, a door scan or a message to the guest.
1. Full name (first and last name in separate fields)
Ask for first and last name in two fields, written as they should appear on the badge. Separate fields let staff sort by surname, search quickly at the desk and print without reformatting. Add a short hint such as “As shown on your badge”. Allow accented and non-Latin characters for international delegates, and don’t force capital letters.
2. Email address
Email is the key that links a registration to a check-in. Use it to send a confirmation with a unique QR code or barcode that staff scan at the door. Validate the format as the guest types, and allow only one registration per email so duplicates don’t clog the system. Offer a separate group registration option for teams.
3. Mobile number with country code
A mobile number lets you send day-of reminders, venue changes and last-minute updates by SMS or WhatsApp. Use a country-code selector that defaults to the UAE (+971) and checks the number format. Make the field optional for virtual audiences, and tell guests how you will use the number.
4. Company or organisation
Company name appears on most badges and lets you group attendees, seat tables and report to sponsors. Use free text with autocomplete built from earlier entries, so one company isn’t spelled four different ways. Set a character limit that fits your badge layout so long names print cleanly.
5. Job title
Job title helps you personalise badges, spot speakers and VIPs, and give sponsors useful audience segments. Keep it as free text with a character limit. If only certain badge types show titles, mark the field optional for the others.
6. Attendee type
Attendee type is the field that most directly speeds up check-in. Delegate, speaker, VIP, exhibitor, sponsor, media and staff each get a different badge colour, access zone and check-in lane. Use a dropdown with five to seven options rather than free text. Hide restricted types such as speaker or VIP behind an invitation code.
7. Session or workshop selection
If your event has paid or limited-capacity sessions, ask guests to choose them at registration. This lets you control room capacity, print the right schedule and scan guests into the session rather than only the venue. Show remaining seats and block overlapping times. Skip this field for single-track events.
8. Dietary and accessibility requirements
Ask about dietary needs and accessibility in one optional field. Caterers and venue teams can then prepare in advance instead of handling requests at the desk. Offer checkboxes for common options such as vegetarian, halal, allergies and wheelchair access, plus an “other” box. Explain who sees the answers, because the data can be sensitive.
9. Consent and data permissions
A consent checkbox records that the guest agrees to how you will use their data. Add separate opt-ins for marketing, photography and sharing details with sponsors. Keep each one unticked by default, link to your privacy policy and store the consent with a timestamp. Data protection rules such as the UAE’s Personal Data Protection Law (PDPL), and GDPR for EU attendees, may apply, so confirm your wording with legal counsel.
What to leave off your registration form
Leave off any question you won’t use on the day or in your follow-up. Extra fields slow guests down and create data you then have to protect.
- Date of birth: not needed for entry unless the event is age-restricted.
- Home address: only collect it if you are posting materials or tickets.
- Passport or ID numbers: high risk. Ask only where venue security or regulation requires it, and handle the data securely.
- Long open-text questions: they slow completion and are hard to use. Move them to a post-event survey.
- Repeated questions: don’t ask for the company name in two places.
- Mandatory social media handles: useful for some campaigns, but not for check-in. Make them optional.
How many fields should an event registration form have?
Seven to ten fields suit most attendee forms. Require only what you need to identify, badge and admit each guest, and make everything else optional or conditional.
Required for fast check-in
- First name and last name
- Email address
- Company or organisation
- Attendee type
- Consent
Optional or conditional
- Mobile number (optional for virtual audiences)
- Job title (only if it prints on the badge)
- Session selection (only for multi-session events)
- Dietary and accessibility needs
Use conditional logic so guests only see questions that apply to them. A delegate has no need to see the speaker questions, and a one-day event has no need for a session picker.
Form setup tips that speed up check-in
The right fields only work if the form itself is quick and accurate. Six setup habits make the biggest difference.
- Design for phones first. Many guests register on a mobile. Use a single column, large tap targets and a short page.
- Prefer dropdowns, checkboxes and autocomplete. Structured answers stay consistent, so the desk team isn’t decoding typos.
- Validate as guests type. Check email format, phone country codes and duplicate emails before the form is submitted.
- Send a unique QR code or barcode. Put it in the confirmation email and ask guests to save it to their phone. Scanning replaces typing at the door.
- Match fields to the badge. Badge printers, scanners and tablets read the data your form collects, so plan the fields and character limits around the badge layout. See our badge sourcing solutions and registration hardware.
- Test with real people. Submit the form from a phone and a laptop, run test check-ins and fix anything slow before launch. Keep a printed backup list for the desk.
Frequently asked Questions
At a minimum: first and last name, email, company, attendee type and consent. Add mobile number, job title, session choice and dietary or accessibility needs where they help. Every field should support the badge, access or communication. Remove anything that doesn't.
Seven to ten fields suit most attendee forms. Require only what you need to identify, badge and admit each guest, and make the rest optional or conditional. Shorter forms are quicker to complete and give cleaner data at the check-in desk.
Name, email and attendee type matter most. The name prints the badge, the email links the guest to a unique QR code, and the attendee type sends them to the right lane. Company and consent are also commonly required.
Many events require devices for only one day and hence short periods play a crucial role in laptop rentals. Availability and minimum lease periods vary with the provider and the season. Plan ahead in case of busy seasons. Tell us the exact dates and quantities.
Ask for a mobile number if you plan to send day-of updates by SMS or WhatsApp. Use a country-code selector, validate the format and explain how you'll use it. Make it optional for virtual audiences or when email alone is enough.
Avoid date of birth, home address, passport or ID numbers and long free-text questions unless the event genuinely needs them. Collecting less keeps the form quick and reduces data risk. Save nice-to-know questions for a post-event